ME 100 Lab 2, part 2: Introduction to MLCAD
1. Software Installation:
* Install MLCAD by executing the downloaded file "ldraw_setup_2006q3_full_i". If the application prompts you for a directory, choose C:\LDraw.
After the installation is complete, you should see an icon named 'MLcad' on your desktop. Double click on the icon to start the program. After the initial install, a window may appear asking for the default directory. Click on ' browse', and select C:\LDraw, click ok. An 'ok' acknowledgment should appear in the bottom of the window. Close the prompt window. The instructions below assume that you have installed MLCAD to the folder C:\LDraw.
* Unzip Nxtparts.zip to the suggested folder (nxtparts). The folder C:\nxtparts contains two subfolders /p and /parts. Move the content of each of the unzipped NXT parts folders into the appropriate LDRAW folders (move the files in C:\nxtparts\P to C:\LDraw\P\ and move the files in C:\nxtparts\Parts to C:\LDraw\Parts\). Click YES at the prompts whether to replace existing folders or files.
* Launch MLCad
* Do a File/Scan parts and accept when prompted for file list write.
The Lego NXT parts appear in the ‘Electric’ list. Drag selected items to the window at right.
2. MLCAD Tutorial
Please visit http://www.hpfsc.de/mlcd_tut/Default.html
and read/download the MLCAD tutorial.
Please work through the tutorial exercise until you can import Lego parts and move them around on the screen.
3. CAD Assignment
Submit to your Lab TA (individual assignment, each student)
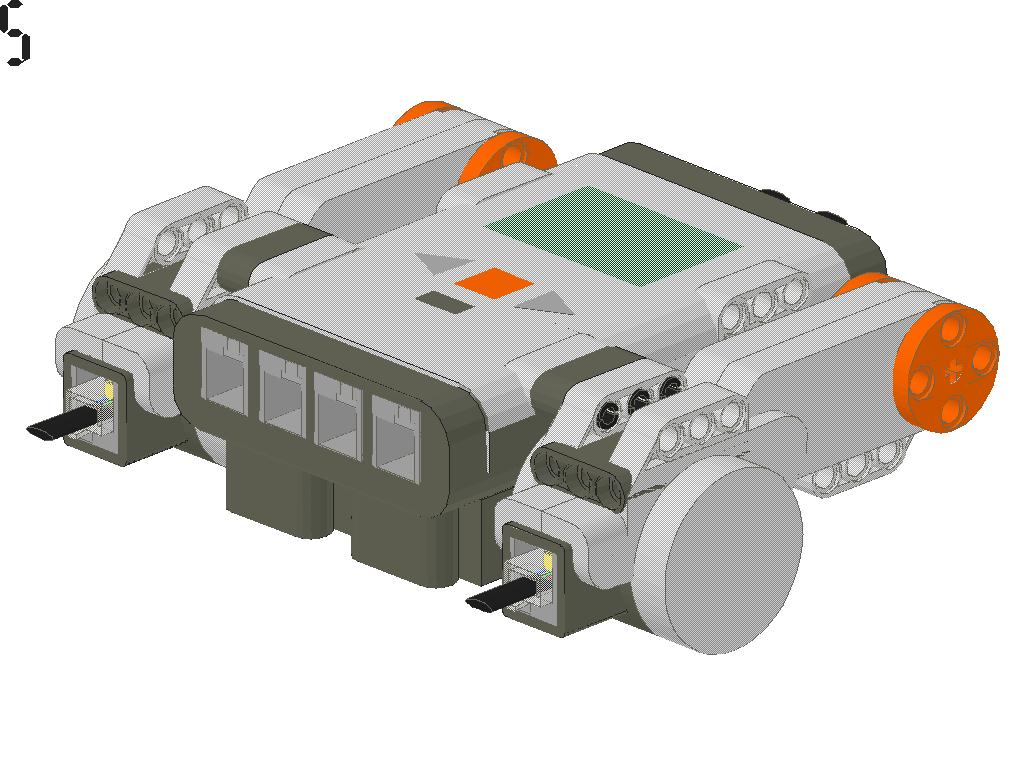
A MLCAD 3D perspective view of a completed assembly, consisting of one NXT brick, two motors (one on each side) and the required connection cables. An example is shown in the illustration below.